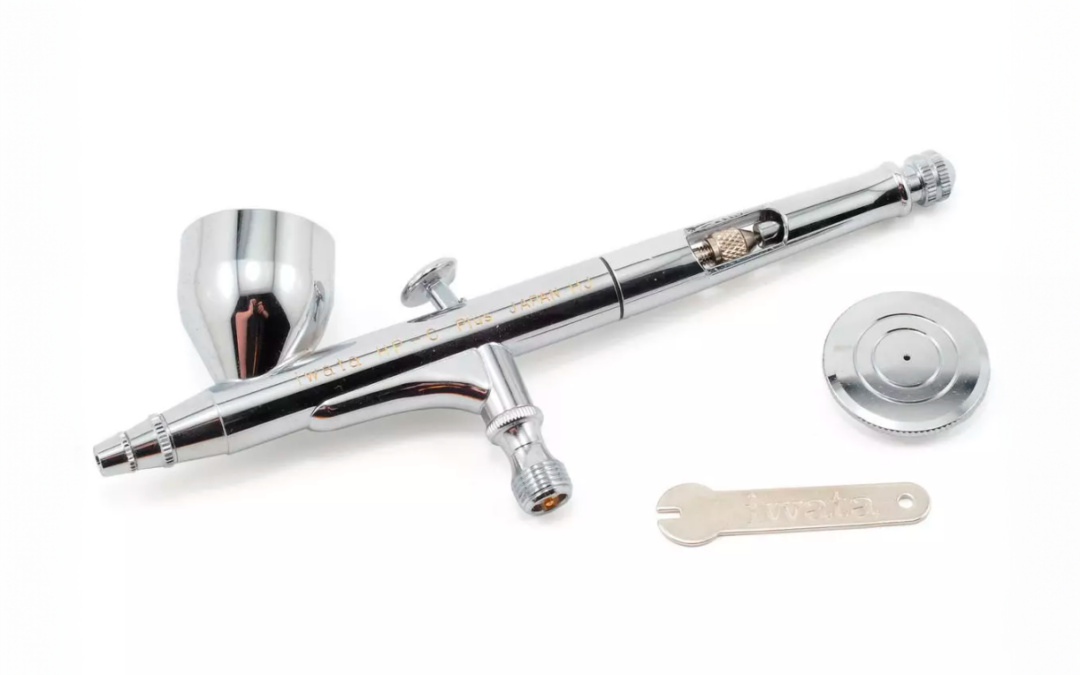
Airbrushes are one of the most widely used tools in airbrushing and its wide variety of styles. Because they are composed of small, delicate parts, they are very likely to be easily damaged due to improper use, wear and tear, or lack of knowledge.
Since we started teaching airbrushing, one of the main concerns of young artists is when their trusty airbrush starts to malfunction. They then panic and don’t know exactly what to do, or in the worst cases, they prefer to discard it, buy a new one, or give up.
")
In this article, we’ve compiled the most common problems that airbrushes face and some useful solutions so you can extend the life of your airbrush and, above all, avoid bad practices that could damage or break it.
Our recommendation: If you need to learn about airbrush use and care, we offer several in-person and online courses for beginners.
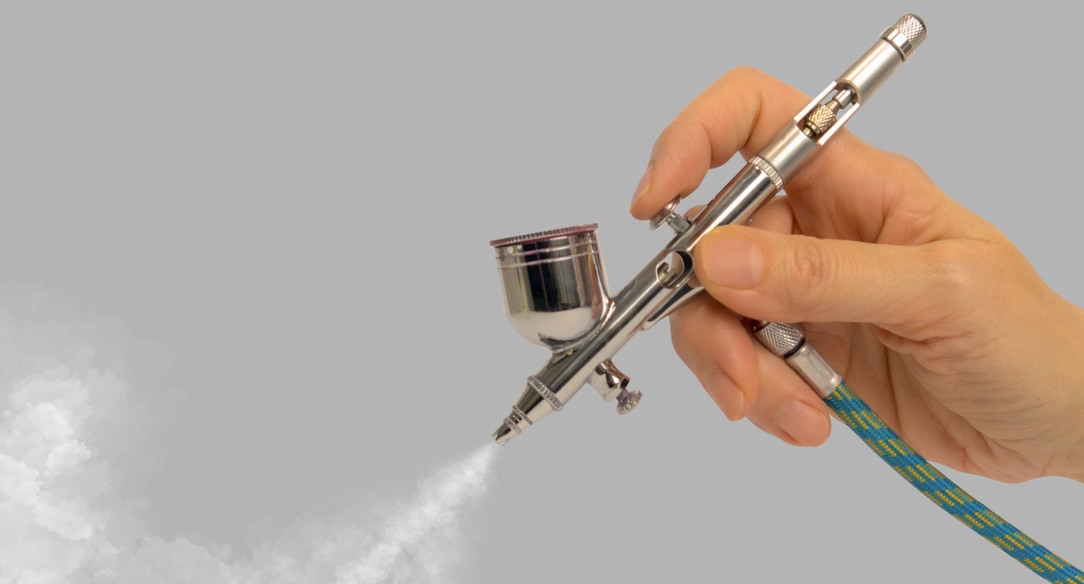
Sometimes the amount of paint you spray with an airbrush can be difficult to control, which can lead to overspray, streaks, or uneven lines. This is one of the most common problems and one of the easiest solutions, requiring little knowledge of airbrush assembly and disassembly.

To avoid this, it’s important to first experiment with different pressure settings, paint dilution, and the distance between the airbrush and the work surface. This will allow you to regulate the amount of paint and control the airflow.
If the problem persists, it’s likely a clog. Below you’ll find some additional tips for dealing with a clogged airbrush.
Trigger stiffness
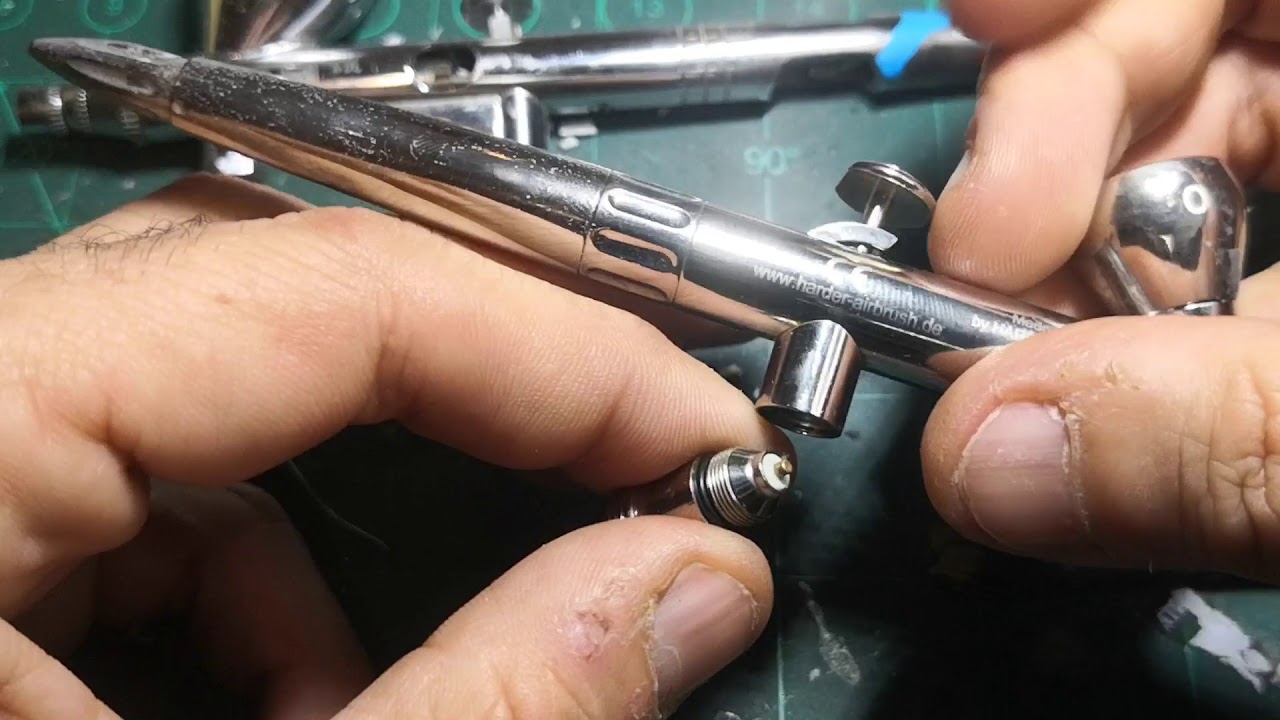
Do you find it difficult to pull the trigger or that the airbrush jams frequently? This could be due to lubrication problems, or in very specific cases, a broken part, a worn trigger seal, or a swollen barrel.
Our recommendation is that you use lubricating oil and apply a small drop, a specific lubricant, free of any silicones. We advise you to use a dropper to measure the amount and apply it to the area. For the air intake rod area, it is necessary to disassemble it.
If the gasket is expanded, simply leave it exposed to the air until it returns to almost its original size. If it is damaged, replace it. You will know the gasket is expanded because the trigger will stay down and you will not be able to stop the air from escaping.
Ink is coming out of the airbrush even though the needle is not retracted.
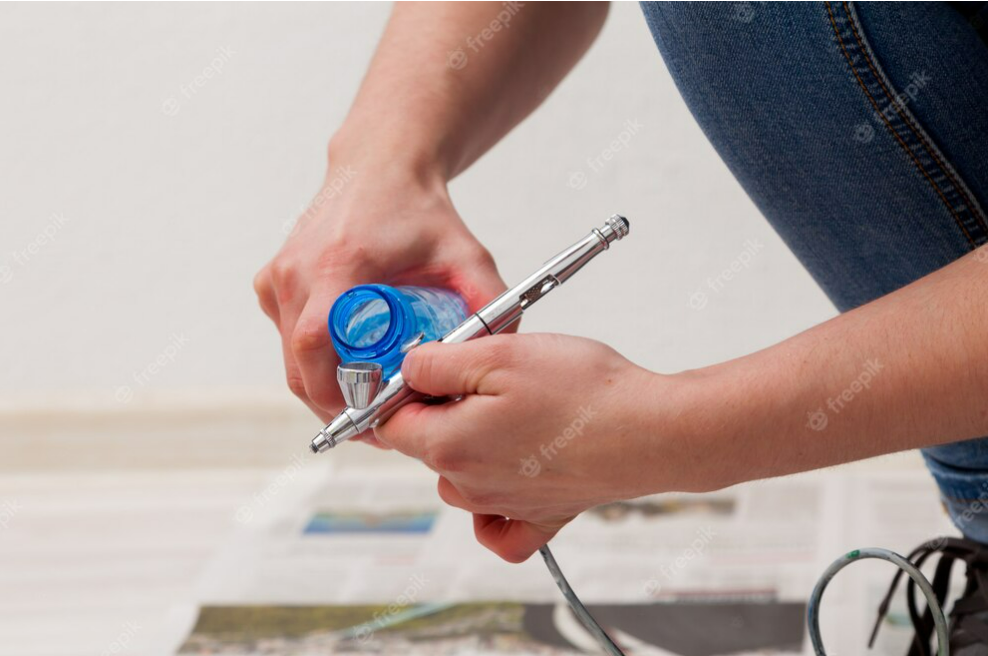
This is one of the most frequent problems and the most effective solution is to pay attention to its cleaning, as well as its maintenance.
Knowing how to properly clean and maintain your airbrush is essential for keeping it working correctly. If it isn’t cleaned carefully, the nozzle may become clogged or other components, such as the needle, may break.
Pay attention when applying paint and especially after use. Knowing how to care for your airbrush is key to ensuring its longevity.
Air leaks and blockages
As you use the airbrush, you will need to adjust the compressor pressure to the type of airbrushing or work you are doing. If you are not careful, you may end up with too high an air pressure, which can cause the paint to spray uncontrollably or cause a backlash.
To prevent the airbrush from clogging due to continuous use of paints, make sure the paint dilution is correct. Remember, the manufacturer prepares the paint for airbrushing (micro-pigmented), but this does not mean it should be diluted; this is something that must be done according to the work being done.
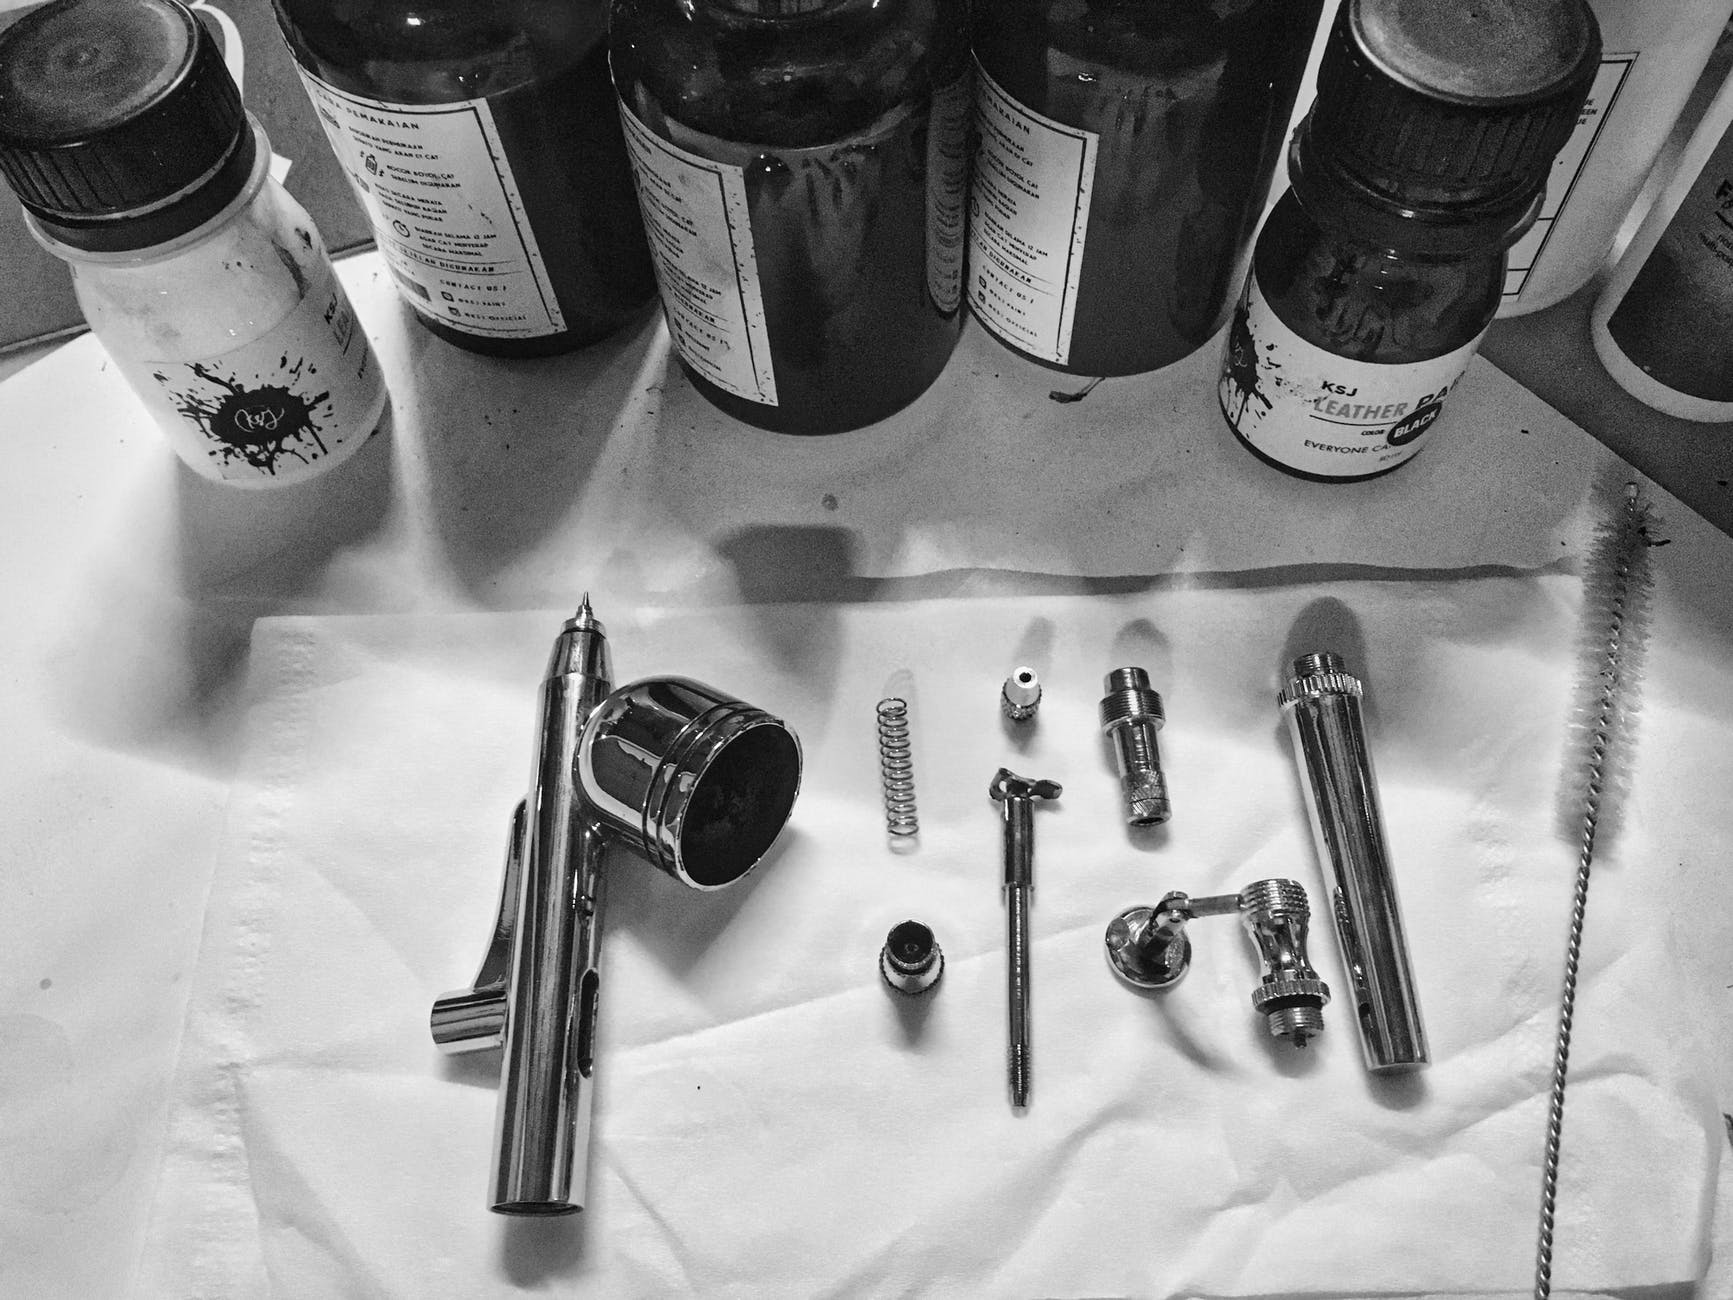
When disassembling your airbrush, be sure to handle the parts carefully, as they are very easy to break or degrade if there is excessive force or due to humidity; keep in mind the disassembly protocol.
One self
Lack of knowledge and inexperience are also some of the reasons to consider when caring for your airbrush. Experience comes through practice and study, which is why we recommend practicing frequently before you start painting.
In this case, you need to educate yourself on best practices, either by taking our courses or by observing professional artists. This will help you learn the basics of airbrushing and avoid common airbrush problems.